Comprehensive Further Analyses
The further analyses provide detailed insights into various material and product characteristics that go beyond standard tests. These comprehensive test methods are crucial for ensuring the quality, reliability and performance of products in various application areas.
IP Protection Classes
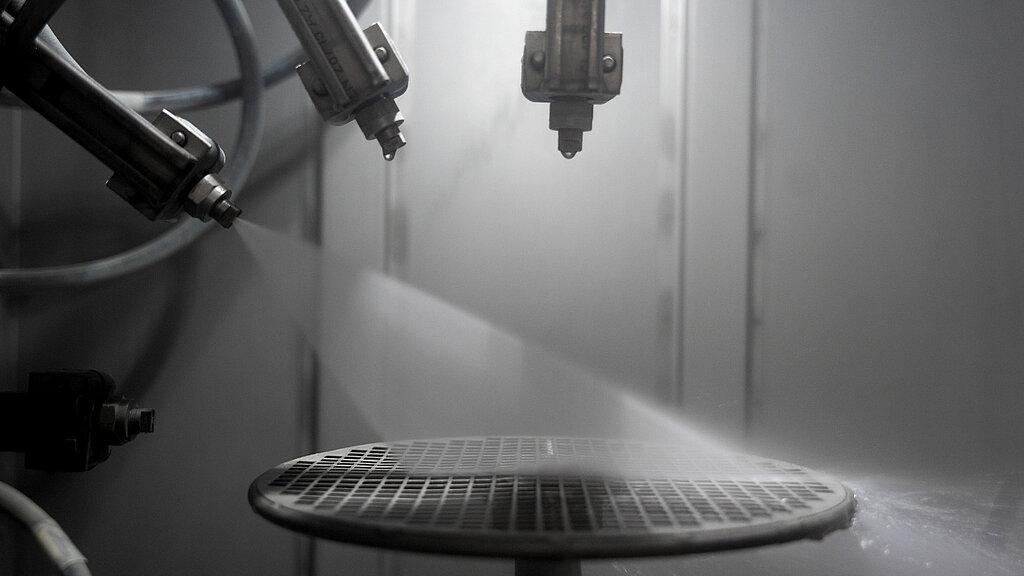
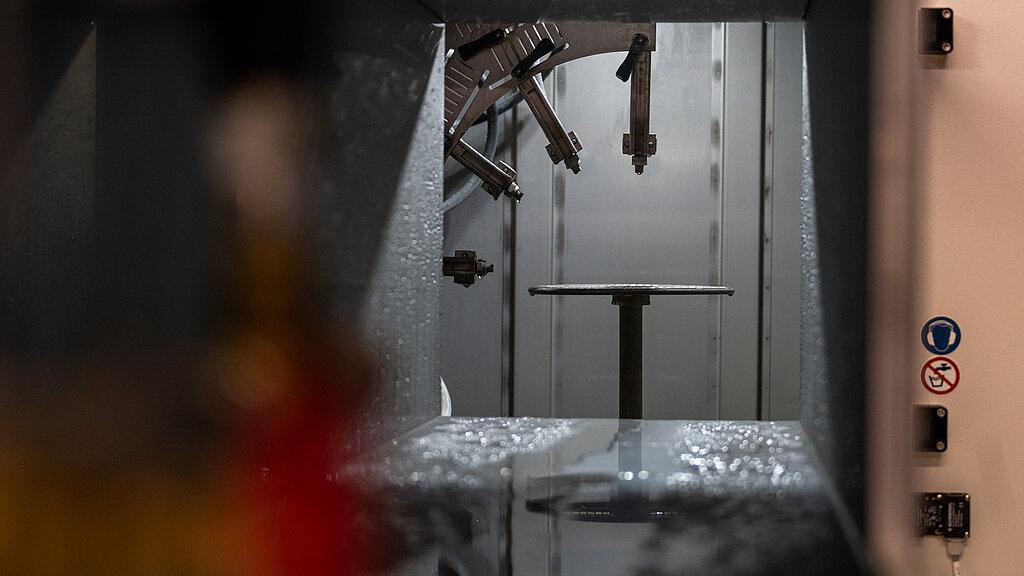
steam jet test with water – directly onto the test specimen, which is located on an automatically rotating plate
temporary / permanent immersion of the test specimens
protection against powerful jets of water under increased pressure
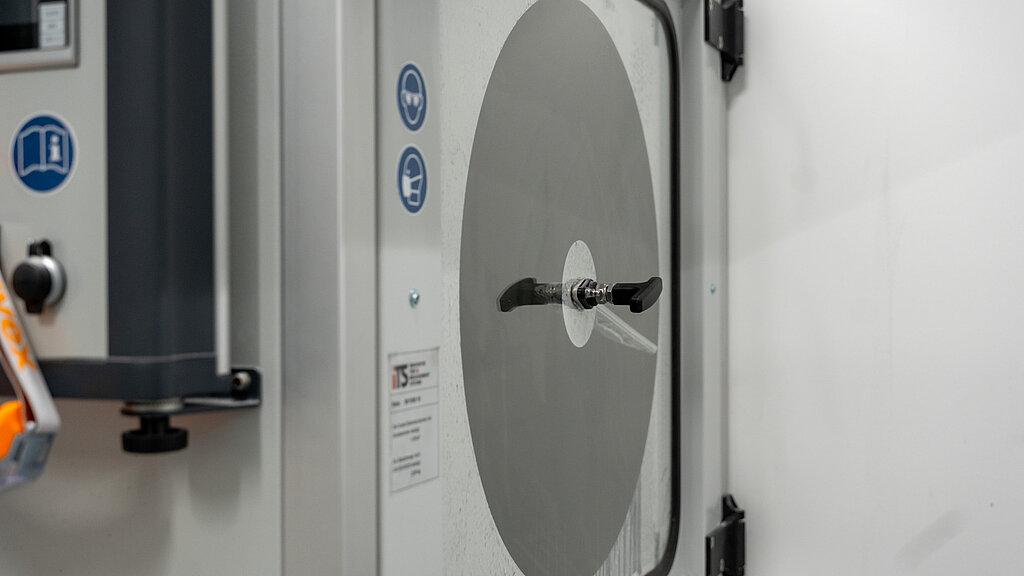
fully automatic dust test chamber with a chamber equipped with underpressuredevice
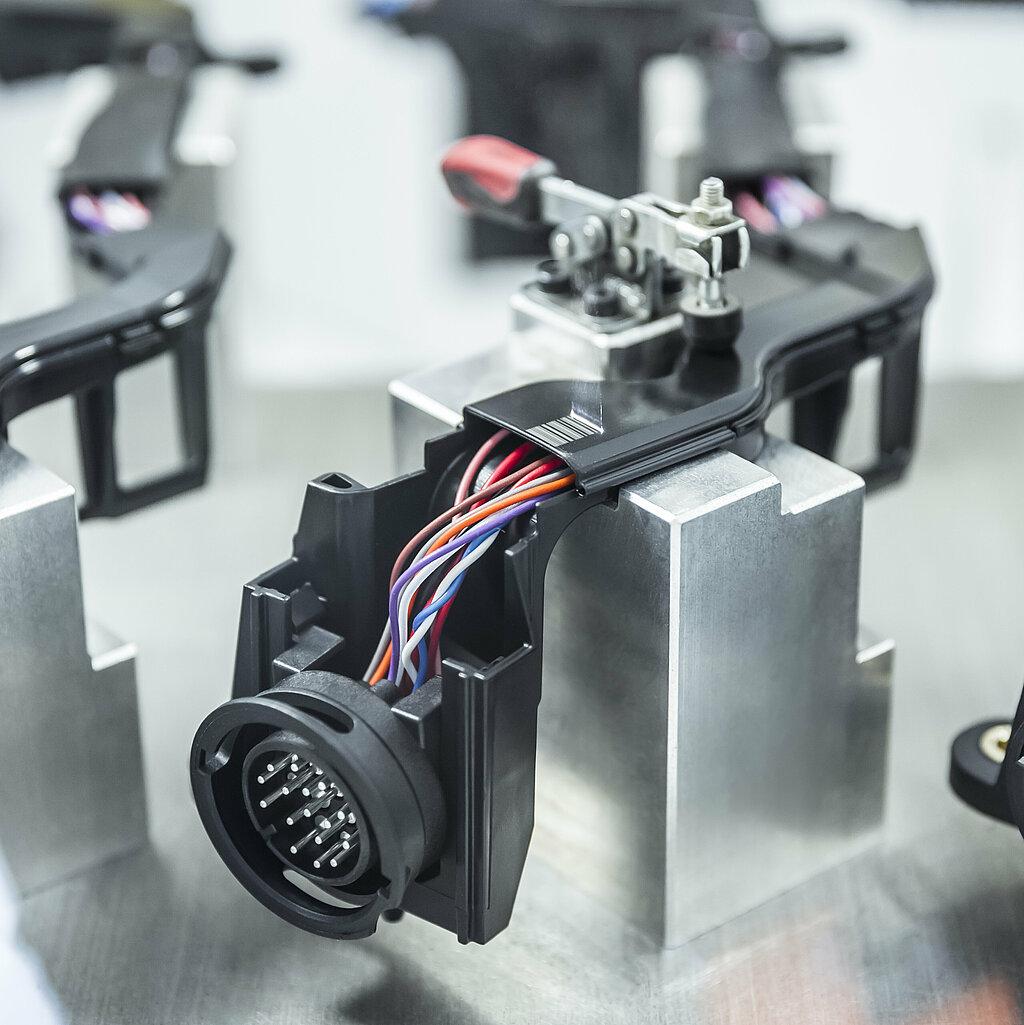
IPXXB contact with a rigid test finger with a compression spring
IPXXD contact with a test probe 100 mm long / 1 mm diameter
Corrosion Salt Spray Test
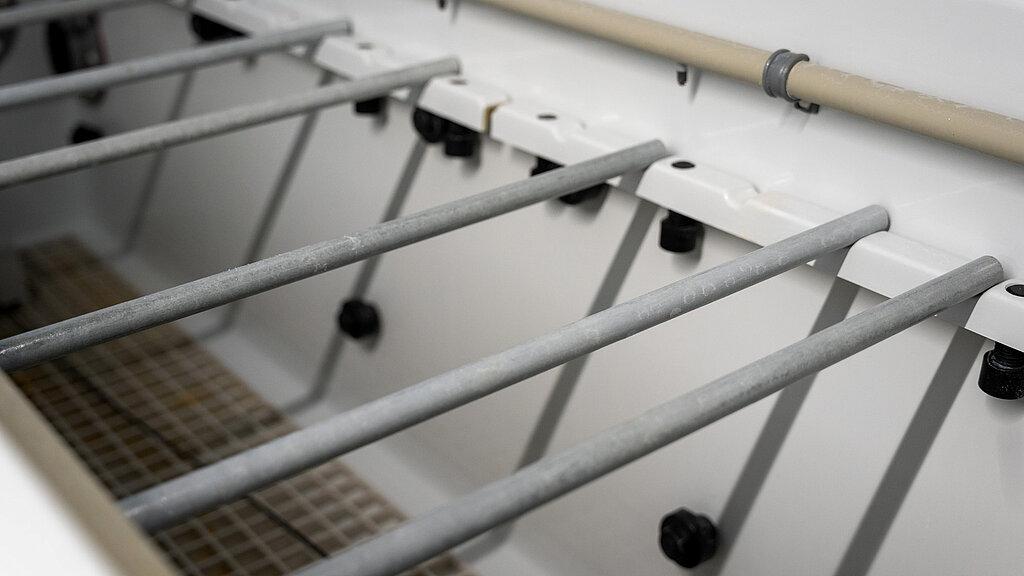
The Hirschmann Automotive Central Laboratory is accredited according to DIN EN ISO / IEC 17025 for the following standard on optical product properties:
- EN 60068-2-11 – Salt Spray Test
- EN 60068-2-52 – Cyclic Salt Spray Test
- EN 9227 Corrosion Tests in Artificial Atmospheres
The derating test evaluates the Current-Temperature Derating of contacts and the influence of the housing by simultaneously energizing all secondary contacts. Short-term current peaks are evaluated. Continuous monitoring of temperature and current is possible during the test.
Size of Test Chamber Derating Position 1 + 2: 86x46x30 cm with cover
Size of Test Chamber Derating Position 3: 115x80x35 cm with cover
Our slow motion test measures the characteristics of the cable connection (up to a maximum of 4 mm²) to the contact (crimp) using specific load tests.
Scope of Testing: Pre-aging by means of temperature shock and slow motion test
Test Parameters:
- Measuring stations: 55 (50 test samples + 5 reference test samples)
- Horizontal movement: ±25mm with 1Hz
- Measuring current: 100 mA
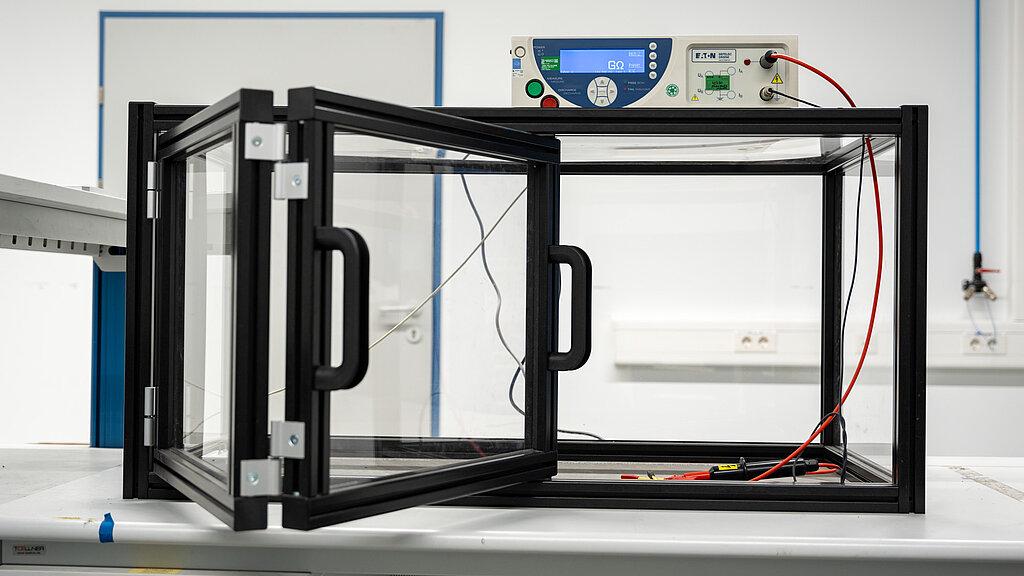
- High voltage test up to 6kV DC / 5kV AC
- Insulation test with up to 1,000V
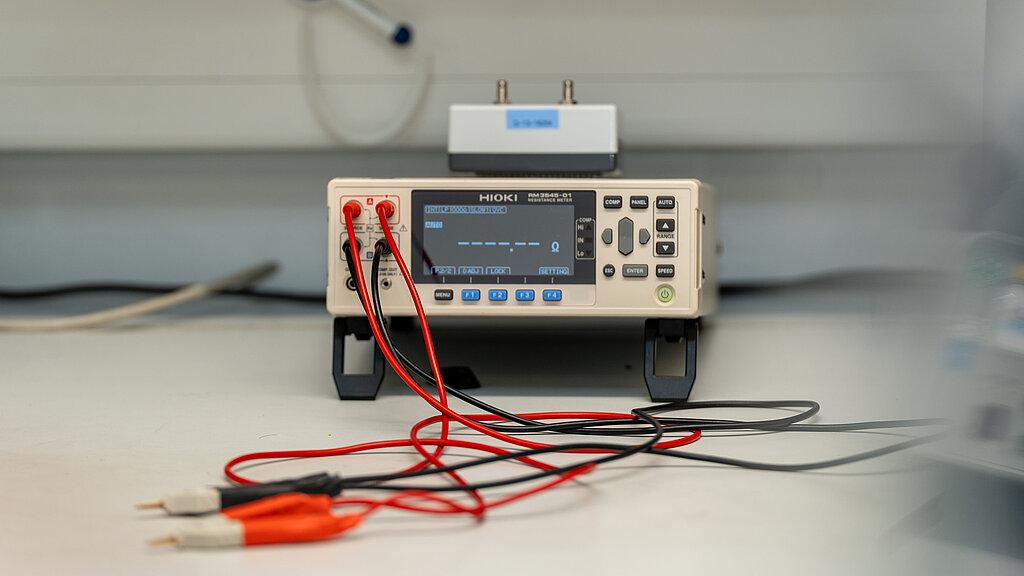
- Milli-Ohm- and Micro-Ohm-Meter for exact resistance determination
- Electrical stress tests
Leakage Analyses
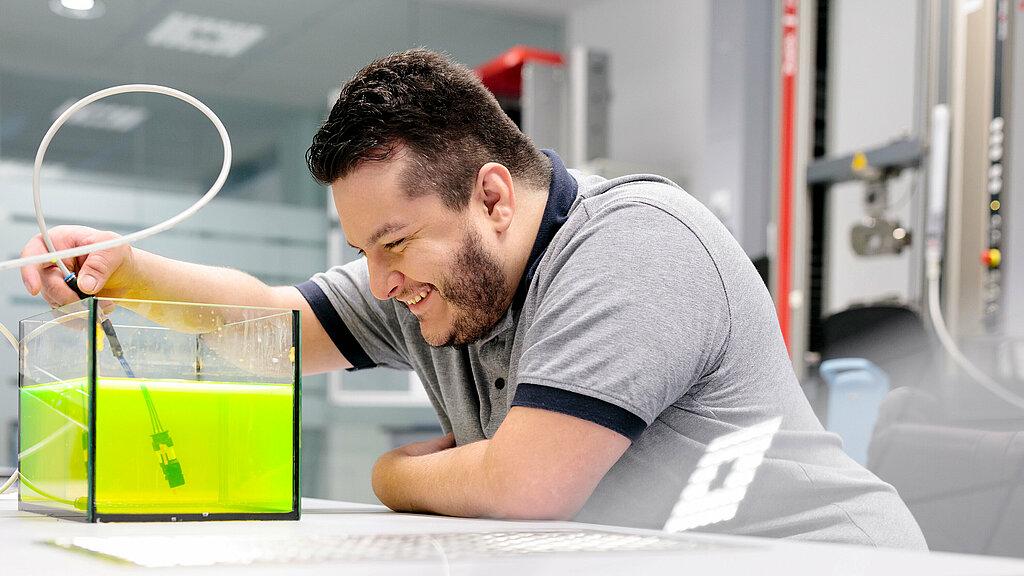
Leaking connections are not an option!
Hirschmann Automotive's precision leak tests ensure that systems meet the highest standards of tightness. These advanced methods detect even the most minor leaks using helium leak testing with a vacuum method, differential pressure measurement, or water bath tests.
Tensile and Compression Tests
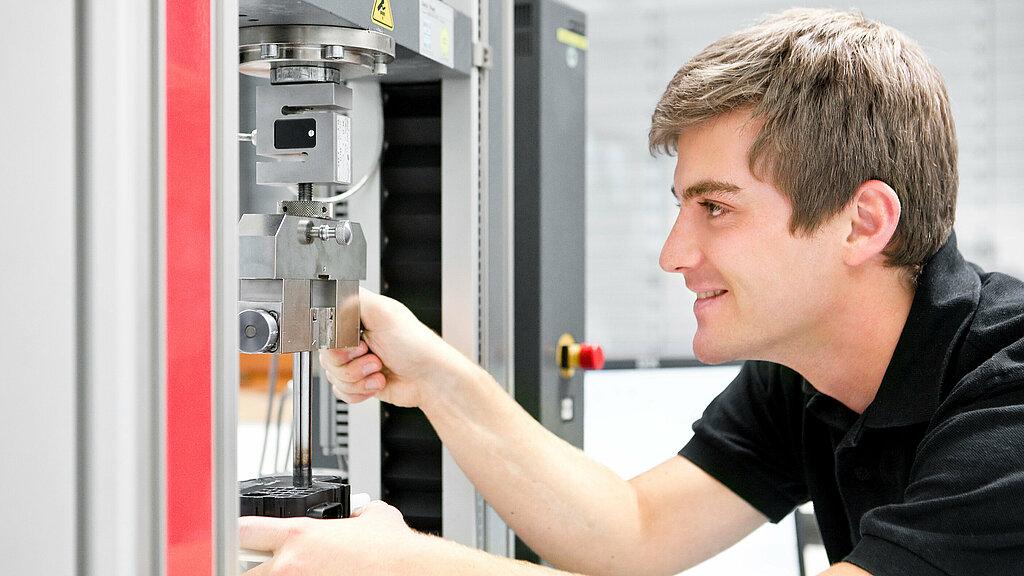
The state-of-the-art tensile and compression tests ensure your components can withstand mechanical loads – from insertion and withdrawal forces to actuation cycles. With PC-controlled testing machines and a force range of up to 20 kN, material strength, locking mechanisms, and coding efficiencies are analyzed to the highest standards.
The Hirschmann Automotive central laboratory is accredited for the standards (see text) according to ISO/IEC 17025 and tests by EN 60512-13-5 and EN 60512-15-6. Rely on solid testing for durable and safe products.
Chemical Resistance Tests
From spraying to immersion – Hirschmann Automotive tests materials for chemical resistance.
Chemical exposure challenges material durability. Hirschmann Automotive simulates real-world conditions using methods such as spraying, wiping, and immersion. With additional temperature storage from -40 °C to 150 °C, these tests determine whether materials can withstand extreme environments and ensure long-term reliability.
Electromagnetic Compatibility Measurement
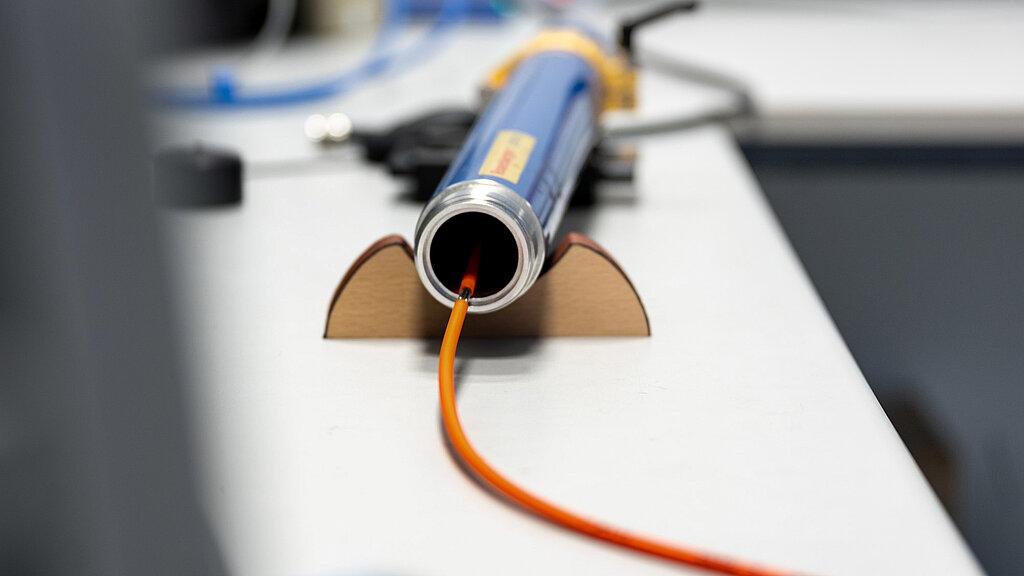
Electromagnetic interference can impair the functionality and safety of electrical systems. These electromagnetic compatibility tests (EMC tests) detect emissions from high-voltage connections and evaluate resistance, shielding effectiveness, and signal transmission. Using state-of-the-art measurement methods such as time domain reflectometry (TDR) and network analyses, the Hirschmann Automotive central laboratory ensures that your components function without interference - even in demanding environments.
Measurement: characteristic resistance
Bandwidth: 35 GHz
Edge Speed: 18 ps
Measuring the scattering matrix of 4-pole switching systems
Frequency Range: 100 kHz to 8.5 GHz
IF Bandwidth: 10 Hz to 1.5 MHz
Measurement Points: 2 – 20001
Outputs: 4 channels
Calibration of the test leads for the specific test setup
Frequency Range: 9 kHz to 13.5 GHz
Measurement: transmission from parallel wire to inner conductor
Parallel Wire: copper adhesive strip (width: 3 mm – 50 mm)
Coupling: 500 mm
Measurement: transmission from inner conductor to metallic cell/tube
Small Cell: 10x15x15 mm³
Large Cell: 15x15x1000 mm³
Measuring Tube Length: 500 – 3000 mm
Non-Destructive Testing
SEM and EDX Technology
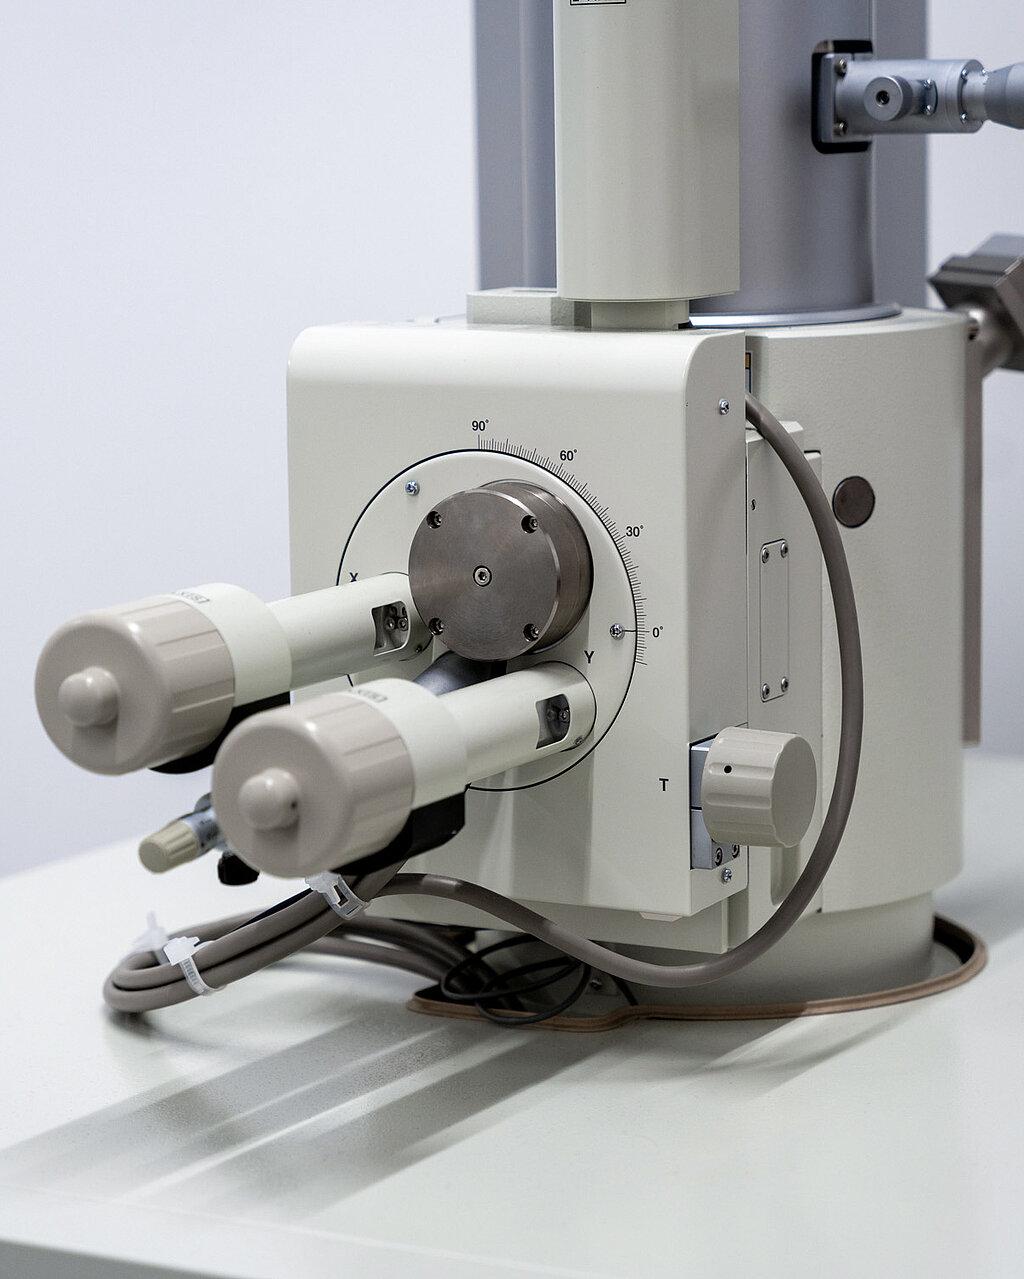
Scanning electron microscopy (SEM) from Hirschmann Automotive enables the detailed imaging of surface and fracture structures with high depth of field, a large magnification range and maximum resolution.
Advanced Element Analysis for Precise Insights
In addition, energy-dispersive X-ray microanalysis (EDX) offers precise element analysis directly on the surface imaged by SEM. Various analysis methods such as point and multi-point analyses, line scans and element mappings are used to determine the material composition in a targeted manner and detect possible deviations at an early stage.
X-Ray Analysis
Hirschmann Automotive's X-ray analyses enable a precise examination of material density and integrity to detect hidden defects reliably. This allows even the finest irregularities in components to be uncovered.
Highest Precision with the Latest Technology
The DAGE RUBY X-ray system captures details down to 0.5 µm with a magnification of up to 23,400x (digital zoom). Thanks to active image stabilization and 16-bit image processing, high-resolution real-time images are produced. The 160 kV X-ray tube with up to 10 W power enables 70° oblique angle views and fast, full-frame, real-time image recognition at 25 fps. Automatic inspection sequences optimize the entire analysis process for maximum efficiency.
Fisher Scope for Layer Thichness Measurements
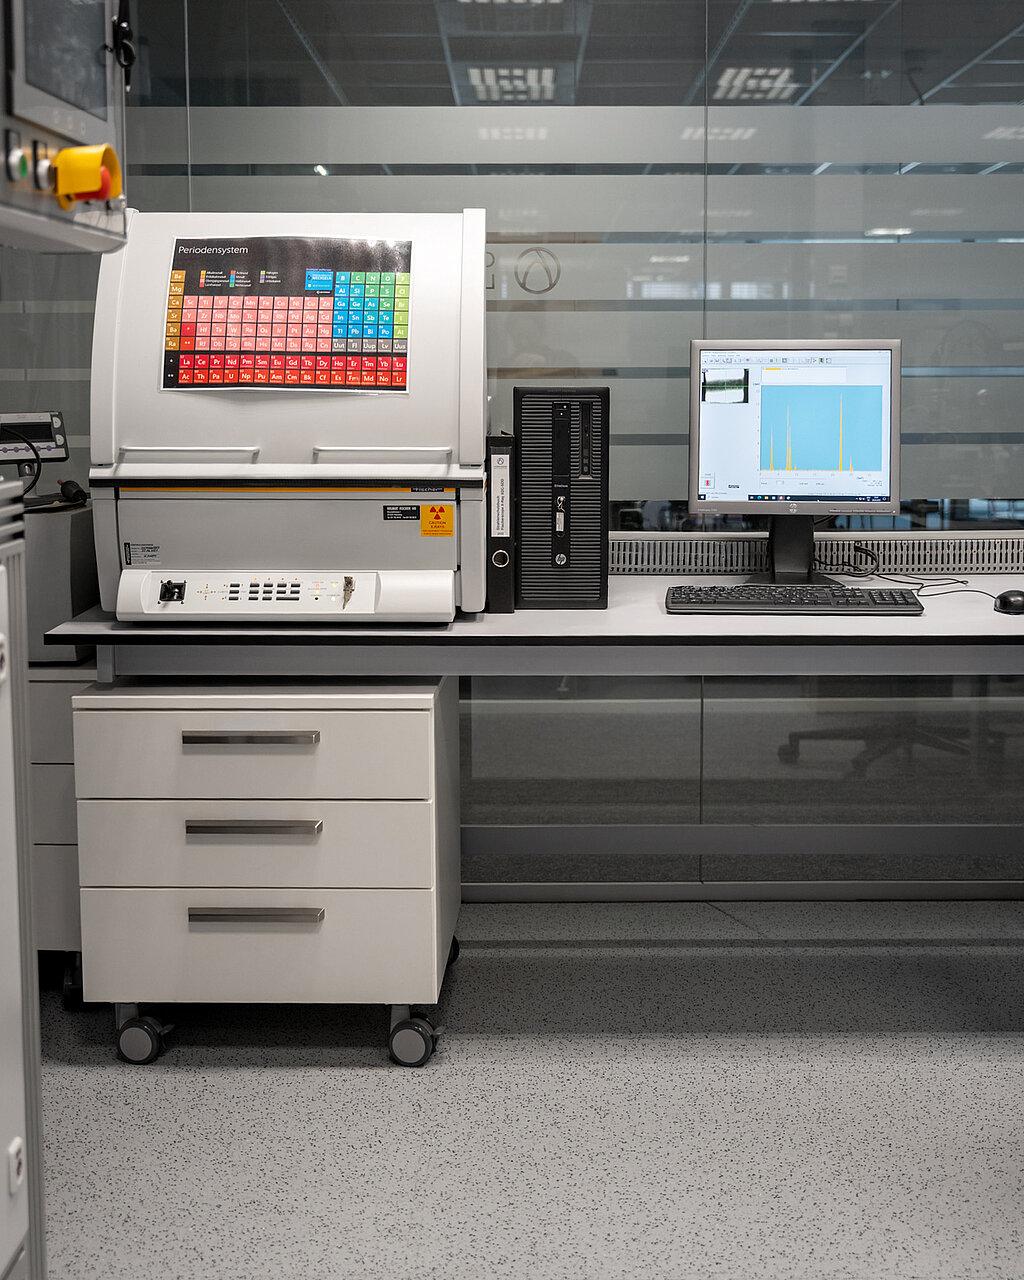
The Fisher Scope uses energy-dispersive X-ray fluorescence (EDXRF) to precisely determine thin layers, small structures, trace elements, and alloys. This allows coating thicknesses and material compositions to be analyzed.
Precise Measuring Methods for Reliable Results
With a microfocus X-ray tube and a silicon drift detector (SDD), the system offers a high resolution of ≤ 140 eV. The most minor measuring spot has a diameter of just 0.25 mm, allowing even the finest details to be captured. The device works with adjustable high voltage (10 kV, 30 kV, 50 kV) and can analyze up to 24 elements simultaneously - from aluminum (Al) to uranium (U). It enables a flexible testing method for different sample types with a measuring distance of up to 80 mm and a table size of 370 x 300 mm.
Optical Investigations
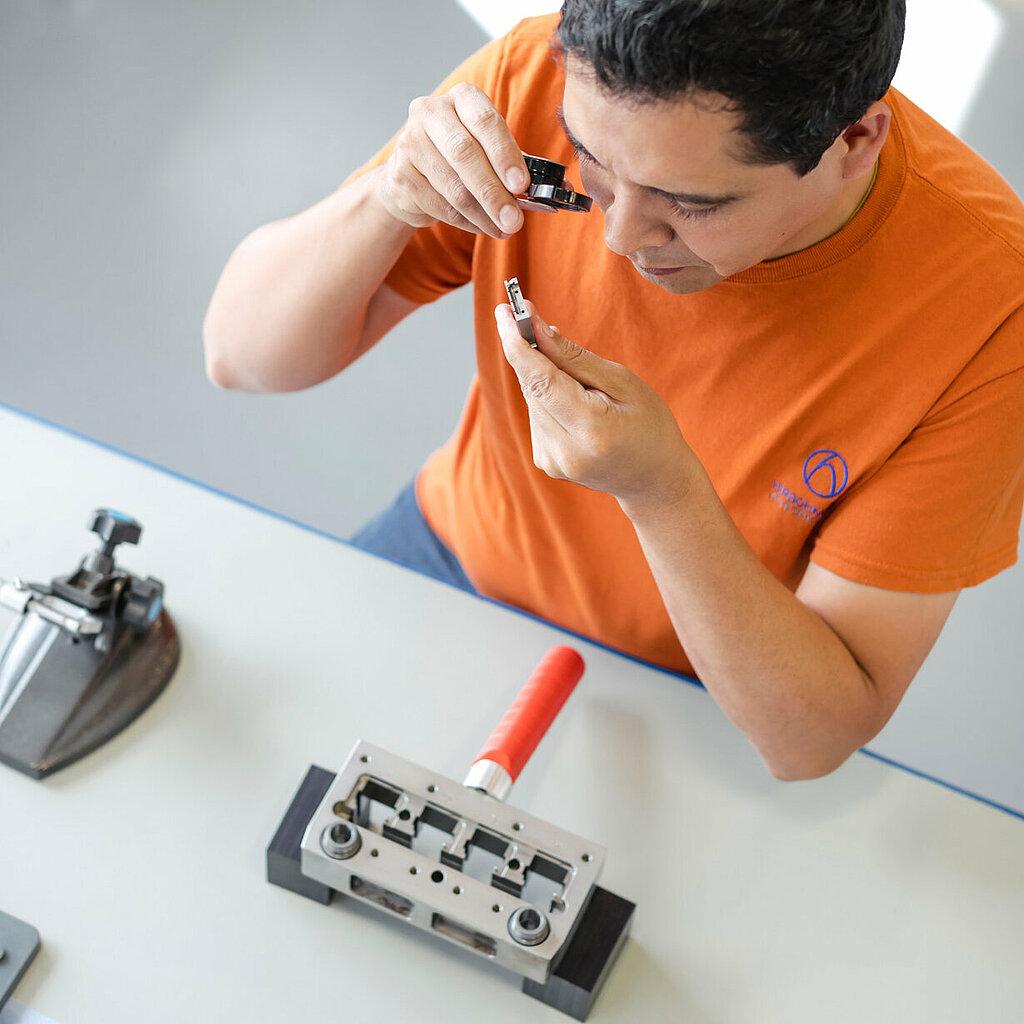
Hirschmann Automotive's microscopic examinations enable the precise analysis of surface structures and material defects on a microscopic level.
State-of-the-Art Microscopy Technology
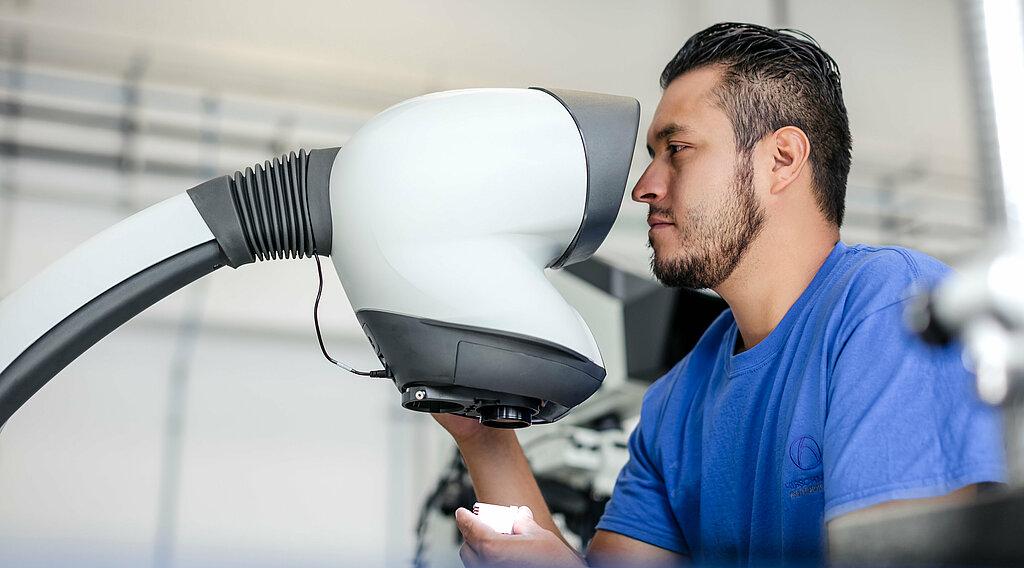
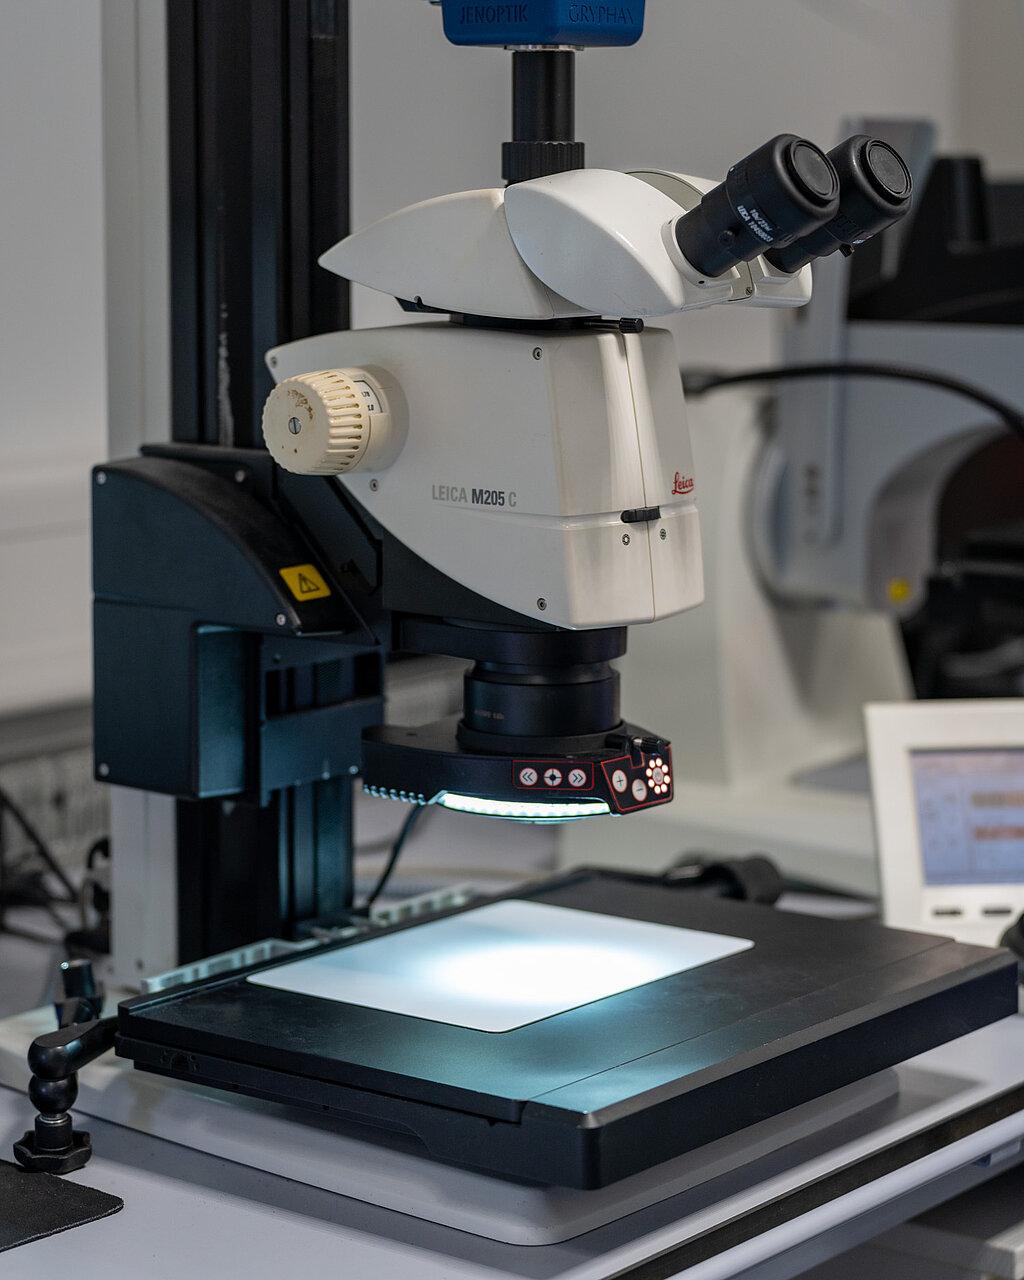
Hirschmann Automotive uses the Leica MC205 stereo microscope, the Leica DM6000 M light microscope or the Leica DVM6 digital microscope for detailed material analyses. Thanks to motorized zoom modules, LED illumination, integrated measuring functions and autofocus options, even the finest details are captured. With these technologies, high-precision optical analyses of components and materials can be carried out.
Infrared Thermal Analysis
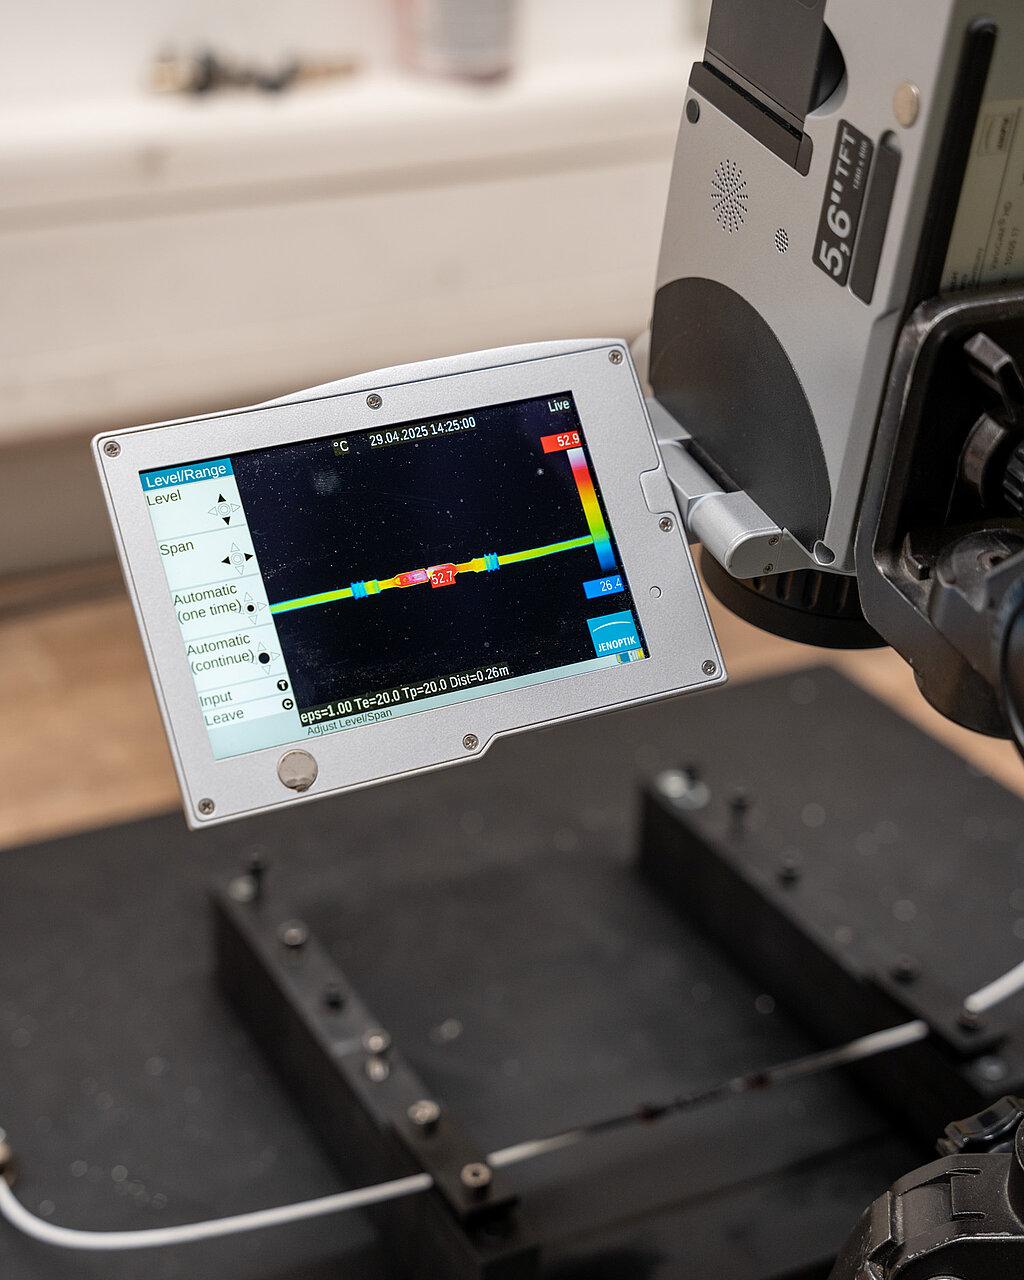
Hirschmann Automotive’s infrared thermal analysis measures temperature changes and heat distributions to evaluate the thermal behavior of materials under different conditions.
Cutting-Edge Technology for Exact Results
The VarioCAM measures temperatures from -40 °C to 500 °C with a 0.05 K resolution. Its uncooled microbolometer technology and 60 Hz frame rate enable high-precision thermal image analyses. The FireWire real-time interface (IEEE 1394) and the powerful IRBIS® thermography software provide comprehensive analysis and documentation options. Digital zoom and a cross-fading function of thermographic and color video images ensure optimal visualization of thermal processes.
Metallographic Investigations
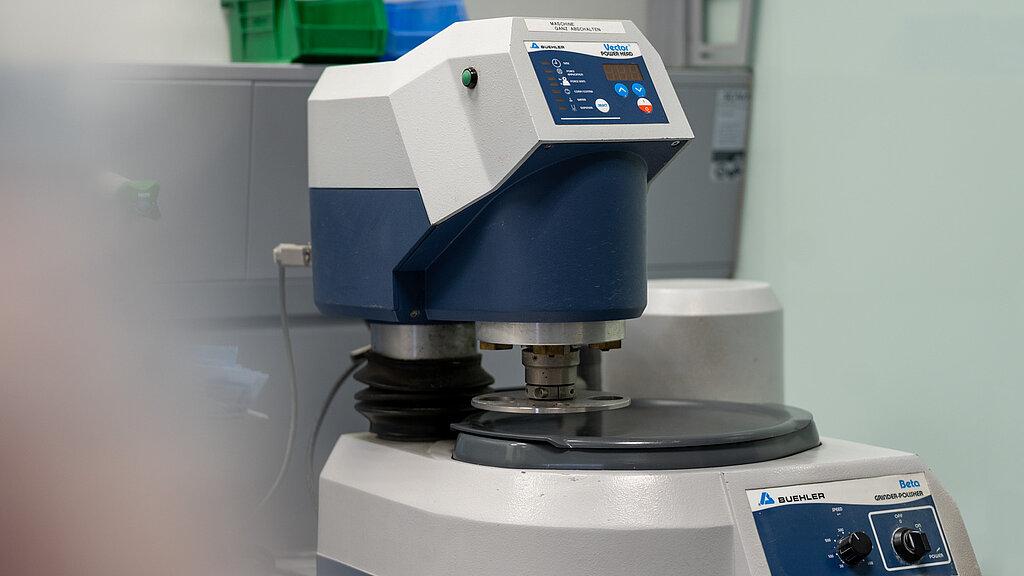
The quality is in the detail – metallographic tests from Hirschmann Automotive provide precise insights into the microstructure of the components. State-of-the-art analysis technology ensures that materials meet the highest requirements and that potential weak points are detected at an early stage. Using micrograph preparation and optical analyses, contacts, plastics, printed circuit boards, soldered and welded joints are inspected down to the smallest detail.
This allows material defects to be detected at an early stage and ensures the highest quality and reliability of the components.
Monitoring Test Samples
The data logger continuously monitors temperature (temperature sensor type K (-100 °C to 260 °C)), voltage, current and resistance. A sampling rate of up to 450 channels per second (Keysight DAQ 970A) enables detailed analyses.
The insulation resistance is monitored with voltages from 500 to 1,000 V per channel, whereby only one channel is currently available. The measured values are recorded at six-second intervals.
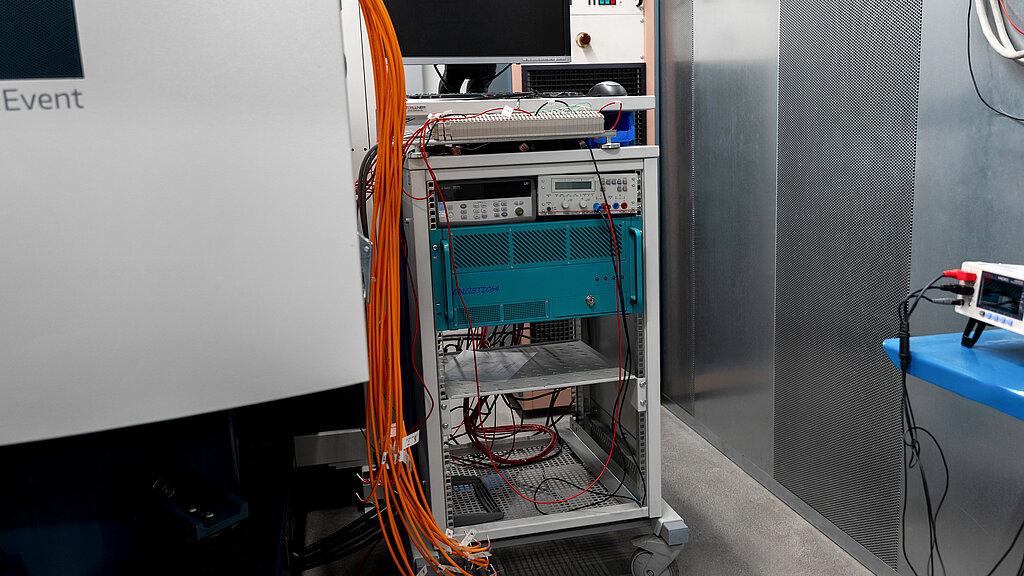
The Gnostic-64 interruption system offers a solution for monitoring short interruptions in electrical connections. Its extensive technical features make it an indispensable tool for quality assurance and troubleshooting in complex electrical systems.
I want to get in touch
Global Head of Laboratory
